Seed Starting
Seed-starting saves you money on plants and expands your choices in flower, color, taste and size! Remember: Some seeds grow best when started directly in the garden. Just read the seed packet.
And – it’s easier than you think especially since seeds are designed to sprout and grow into thriving plants under the right conditions. So you just need to establish the right conditions!
Basics of Seed-Starting Printable Tip Sheet
One other tip – 1 seed will grow into a full size plant! Share unused seeds with other gardeners or start your plants together. New for 2024 at Ward’s – an herb seed-starting workshop. Click the link to learn more!
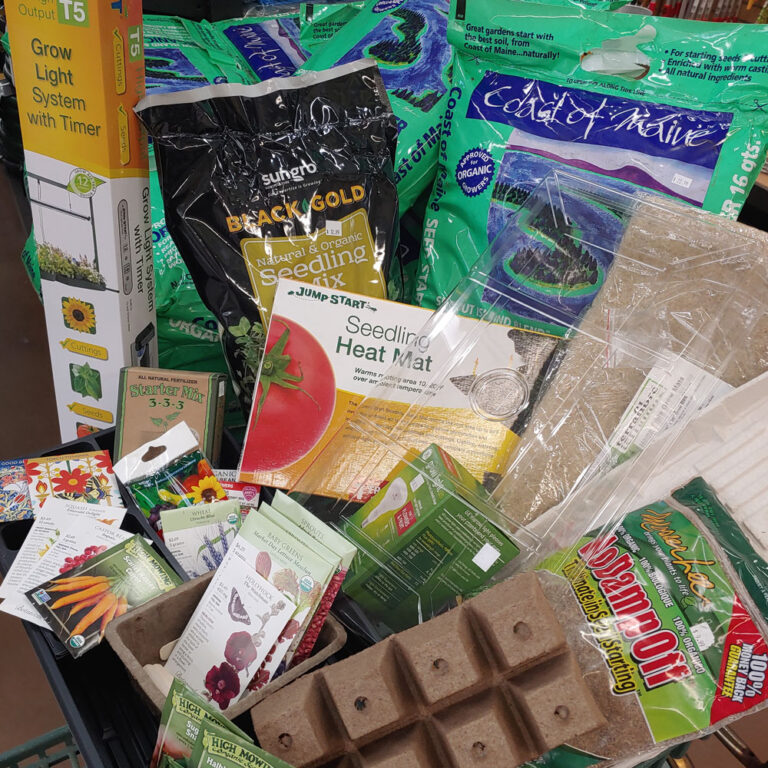
The supplies you’ll need:
Seeds! – We have great choices for you. Seed packets are loaded with how-to information that can help you choose exactly what you want and help you match the seeds and plants to your growing conditions. Note: some seeds are best started directly in the garden. Starting early indoors would be a waste of time and effort. Believe the seed packet!

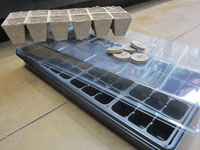
Pots – You can choose 6 packs of plastic or the biodegradable kind- great for squash and sunflower seeds because these plant roots do not like being disturbed after sprouting. FYI, paper egg cartons and recloseable clear plasic lettuce boxes work too. We have the trays and plastic domes as well to keep your seedlings in ideal sprouting and growing conditions.
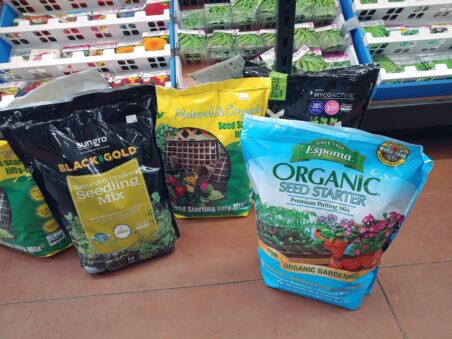
Soil – Whoops – not soil at all! The ideal sprouting medium is a sterile soil-less mix. The ideal mix retains water but is light and porous, allowing for good drainage. After seeding, sprinkle sphagnum moss or diotamaceous earth over the top to help prevent fungus on new seedlings.
Location – This can be a couple different locations, first for sprouting and then for growing. Most seeds need temperatures of 50o F or warmer for good germination so you’ll want a warm location inside the house to get started. Then after germination, the seeds need light. For natural light, put your containers in a south-facing window during the day and protect from drafts. If no window is available, you could use adjustable fluorescent lights hung a few inches above the pots. Before germination, hang lights about 1 inch above soil level. As plants grow, raise the lights but no further than 3 inches above plants.
If started too early, plants will stretch to the light and get too leggy. Follow the seed packet guidelines!
Starting Seedlings Step by Step-
- Growing medium – Fill pots about three quarters full with seed-starting mix.
- Sowing – Depending on the type and size of the seeds, drop several on top of the soil and gently push down to a depth that’s approximately twice the diameter of one seed. Fill the hole and tap down to put the seed in direct contact with soil. Three or so larger seeds and 10 or so smaller seeds are fine per pot for germination. Once sprouted, seedlings can be separated or culled.
- Water from the bottom up by watering into the tray that holds your pots. Use enough water so that the soil is the dampness of a wrung-out sponge. Too much water can drown the seeds. Here’s the value of a tray or those biodegradable pots. They can wick the moisture up at a steady rate.
- Cover pots with a humidity dome or plastic wrap to retain moisture and heat. Once seedlings appear, remove the cover and keep moist be watering into the tray. Sprinkle a little diotamaceous earth or sphagnum moss on the surface to keep moisture from beading up and forming a ‘damping off’ fungus.
- Monitor the height and growth. If plants start to get leggy, move light closer. Gently brush plants to help strengthen stems or run a fan nearby to provide air circulation and strengthen stems.
- Growing temperatures can be cooler than germination temps but around 65 deg. F is best. Use a thermostat controlled heat mat if necessary to keep plants warm.
- When seedlings reach the recommended size for planting in the garden, acclimate them to the outdoors first by leaving them in a sheltered spot outside for a couple of hours, then gradually extend the outdoor time over several days until your plants fully adjust or “harden off”. Then, you can plant them in their ultimate ideal location!
- Visit us in-store to pick up additional ‘handouts and tricks’ for seed-starting success.
- Visit these websites for more information and seed-starting calendars:
University of Missouri Extension (Zone 5)
Margaret Roach’s Seed Starting Tips & Calendar
Our Summer Garden Advice
By mid-summer, perennial gardens can start to look overgrown, annual flowers begin to fade, and bugs may be munching on your vegetables.
Summer Articles